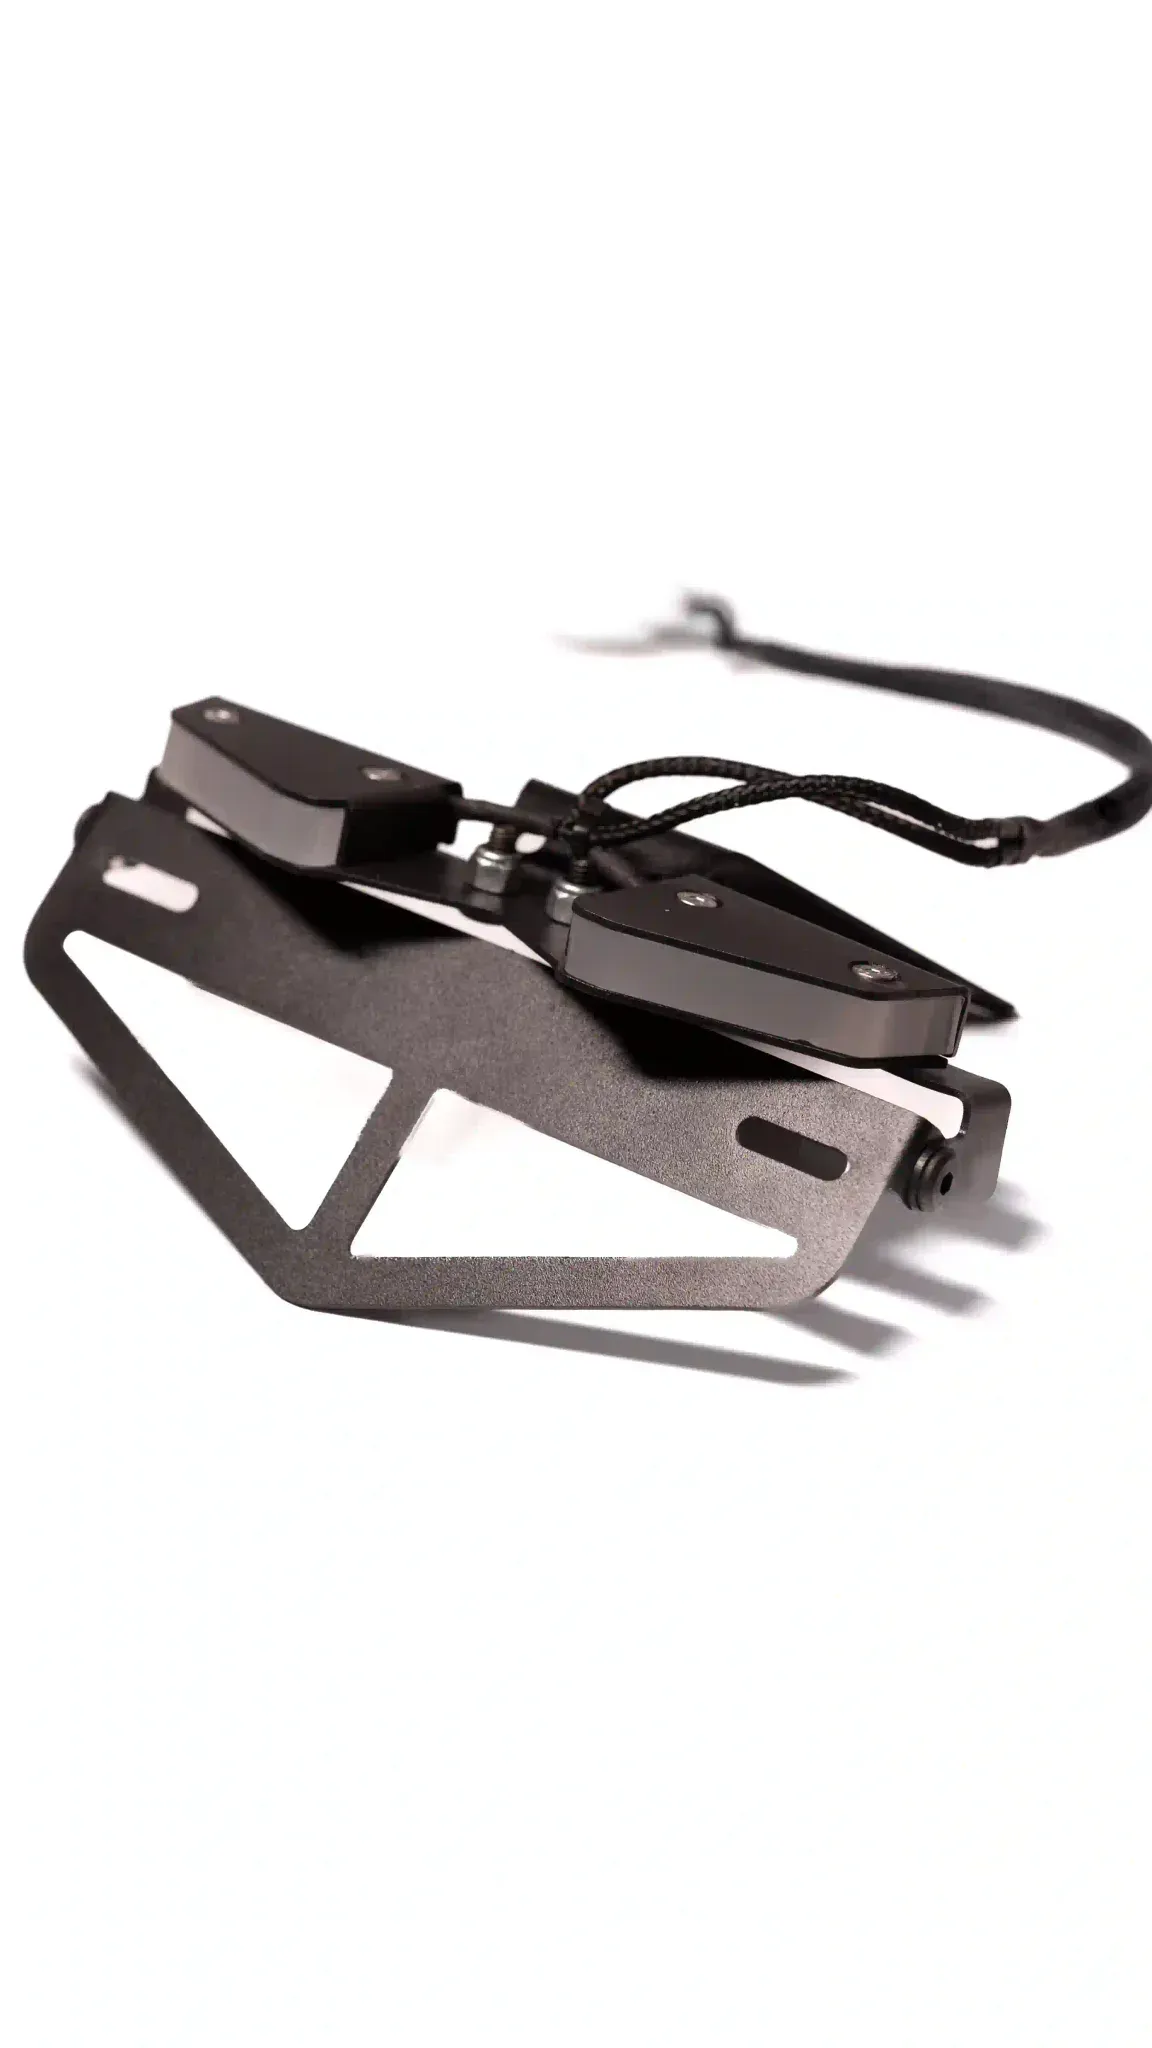
The core difference
A standard tail tidy mainly changes the carrier while retaining separate indicators. An integrated system combines signal functions into the selected rear-light design.
The standard approach can make the rear much cleaner without visually merging all lighting. Indicator position, pod choice and bracket geometry remain explicit. This can suit a rider who values distinct signals, easier component substitution or a more familiar layout.
The integrated approach removes separate indicator pods from the visual composition and creates a continuous or split lighting signature. LS Customs currently shows Unibrow and Split styles on its integrated-indicator product. Because functions are combined, the electrical fitment, visibility and future replacement conversation should include the complete assembly.
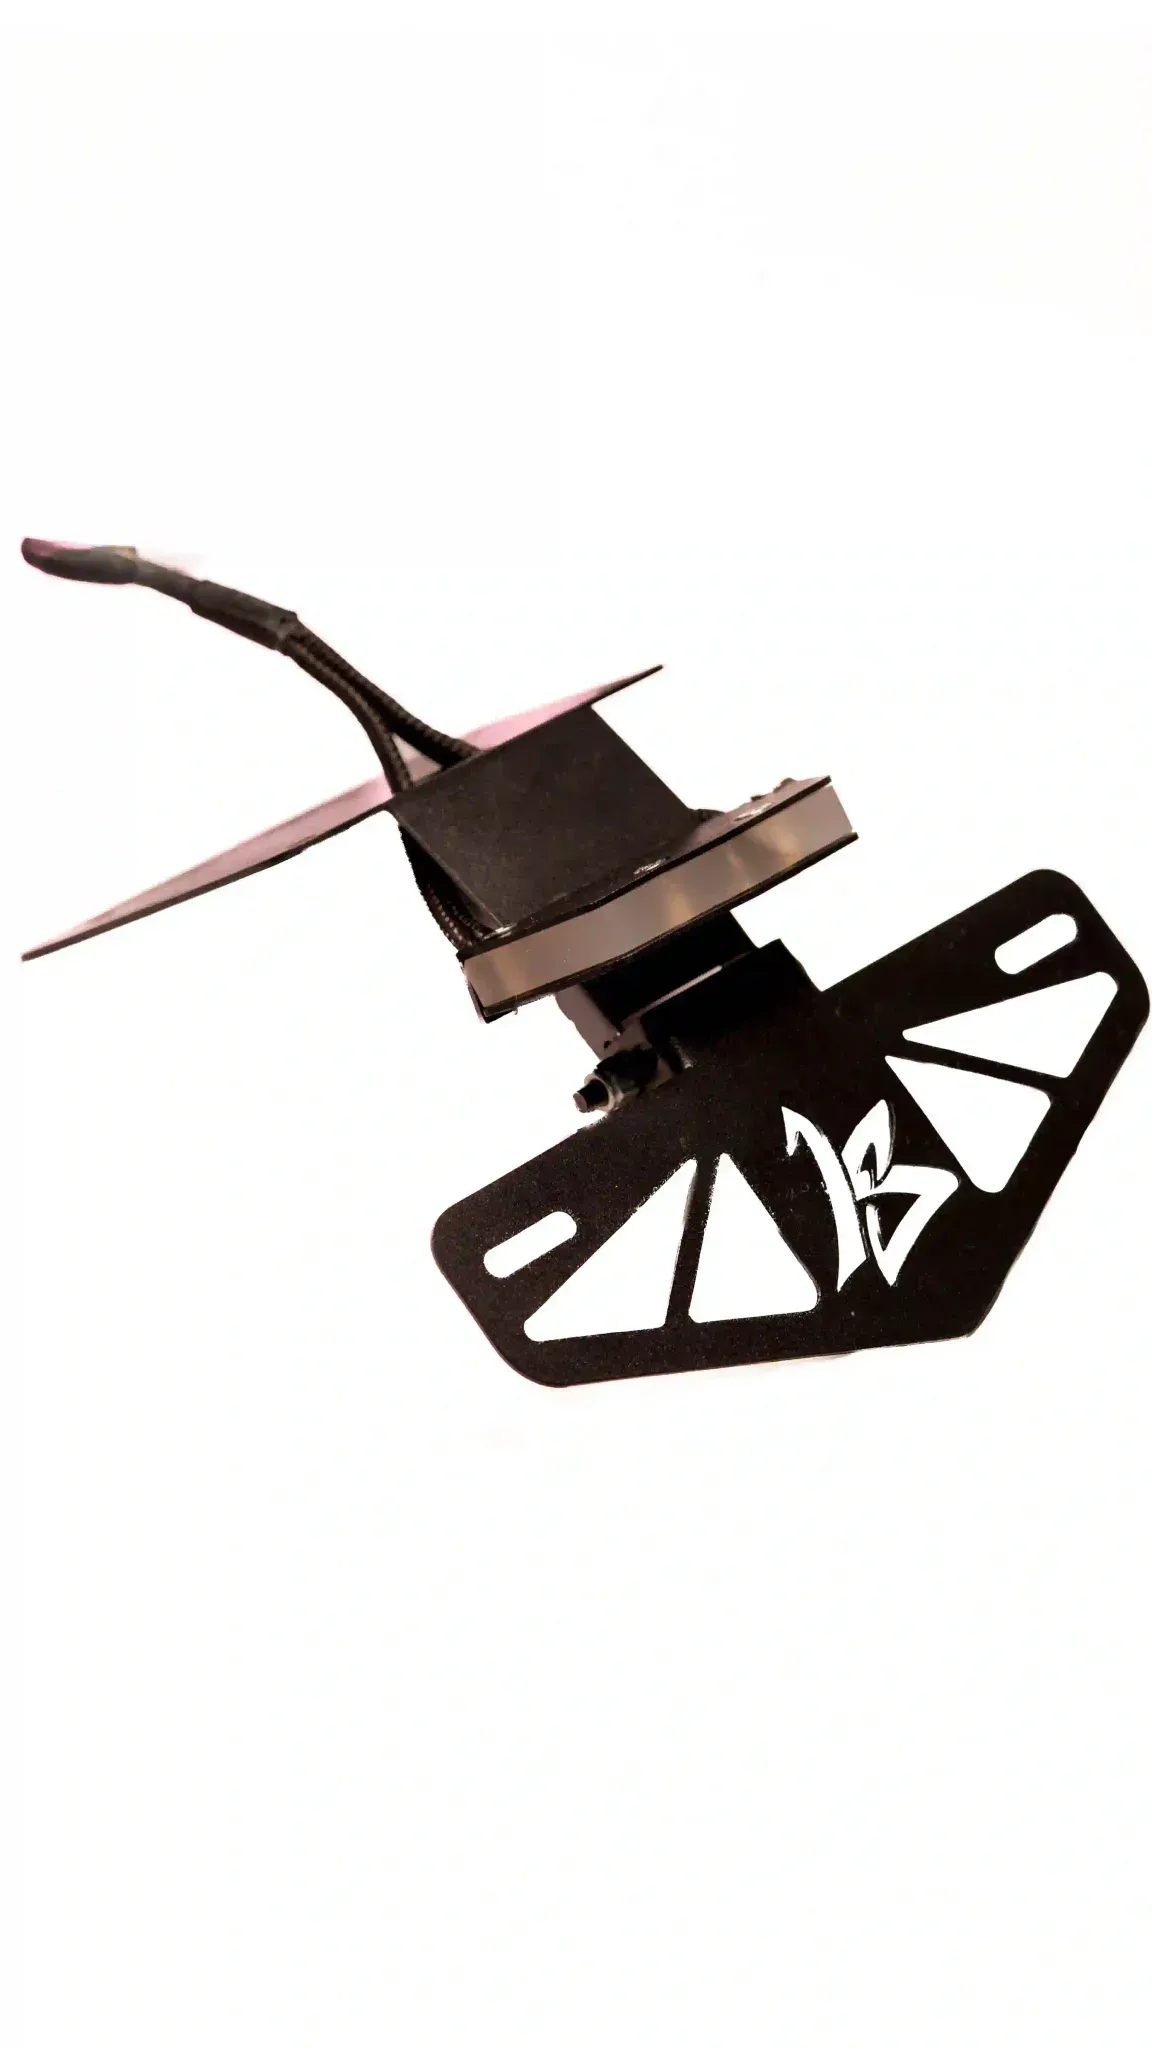
Side-by-side comparison
Use this table to identify the questions that matter. It describes design trade-offs, not guaranteed behaviour for every product or motorcycle.
| Factor | Standard tail tidy | Integrated-indicator tail tidy |
|---|---|---|
| Appearance | Compact carrier with visible separate indicators | Clean, unified rear-light signature |
| Indicator choice | Pod style and mounting can be considered separately | Indicator function is built into the chosen assembly |
| Wiring scope | Depends on indicator and plate-light connection | Function mapping and integrated unit compatibility need confirmation |
| Replacement path | A damaged pod may be individually addressable | The relevant integrated assembly may need to be addressed as a unit |
| Visibility decision | Spacing and pod position are directly visible | Unit design, viewing angle and function separation need close review |
| Visual clutter | More hardware remains visible | Separate rear indicator pods can be removed |
| Fitment check | Bracket, pod mounts, plate and connectors | Bracket, light assembly, controls, wiring and plate layout |
| Best fit | Riders prioritising modularity or distinct signals | Riders prioritising a minimal integrated result |
Visibility and road-use questions
Separate indicators make physical spacing easy to identify, but their actual visibility still depends on the selected pod, position and viewing angle. Integrated indicators can look brighter and cleaner in a close product image while still requiring careful review from realistic distance and angles. Do not evaluate either format only in a dark workshop photograph.
Check current requirements for indicator function, colour, position or separation, number-plate mounting and lighting, rear and brake lamps and reflectors. The chosen product and installed layout must be considered together. A seller’s generic description does not replace the current official rule or authority interpretation.
Wiring and motorcycle compatibility
Both formats may need model-specific connectors, control compatibility or adaptation. A standard kit is not automatically plug-and-play simply because the indicators remain separate. An integrated kit is not automatically complex simply because functions are combined. The actual motorcycle, product and supplied harness determine the work.
Tell the workshop about previous tail, alarm, accessory or lighting work. Unknown joins and altered connectors can turn a straightforward installation into correction work. Ask whether original connectors are retained, whether any irreversible change is expected and what happens if the bike reports abnormal indicator behaviour.
Serviceability and ownership after installation
Think beyond the first day. Separate indicators may let the rider replace a pod without changing the entire lighting design, subject to availability and compatibility. An integrated system may offer a cleaner protected assembly, but its replacement path depends on how the functions and housing are built.
For either format, inspect fasteners, wiring support and clearance after initial use and rough roads. Keep the original assembly, product information and invoice. Avoid high-pressure cleaning around connectors and investigate intermittent lighting promptly.
- Availability of replacement lamps, pods or the full assembly.
- Ease of removing the carrier for tyre or rear-body service.
- Protection from spray, heat, sharp edges and movement.
- Whether returning to the original setup remains practical.
Which one should you choose?
Choose standard when you want a smaller carrier but prefer distinct indicators, expect to change indicator style independently or value a familiar modular layout. Choose integrated when removing separate pods is central to the visual goal and the supported assembly, viewing characteristics and wiring path work for your exact bike.
If you are uncertain, decide what you are unwilling to compromise: visual minimalism, signal separation, replaceability, easy reversal, luggage compatibility or total installed budget. That priority usually makes the choice clearer than comparing product photos alone.
| Your priority | Start by considering | Confirm before buying |
|---|---|---|
| Distinct signals | Standard tail tidy | Pod fitment, spacing and connectors |
| Minimal rear profile | Integrated-indicator tail tidy | Visibility, function mapping and unit fitment |
| Easy component substitution | Standard tail tidy | Supported replacement pod specification |
| Unified design | Integrated-indicator tail tidy | Assembly replacement path and wiring |
| Unsure about either | Physical inspection or fitment conversation | Bike year, current rear setup and road-use needs |
Four rider scenarios that clarify the choice
A daily commuter who rides in traffic and rain may value clear signal presence, easy replacement and a robust, serviceable layout more than the absolute smallest silhouette. A standard tail tidy with well-positioned separate indicators may be the natural starting point, while still requiring a check of spray, plate light and wiring protection.
A weekend sportsbike rider may prioritise the cleanest visual line and accept that the integrated assembly and its wiring are considered as one system. For that rider, the key questions are supported fitment, viewing angles, replacement availability and how the bike returns to stock if needed.
A touring rider with tail luggage should begin with the luggage and load envelope, not with the light style. Either format can be wrong if a bag hides the signals, presses on wiring or conflicts with the plate. Photograph the bike with the actual luggage mounted and include it in the fitment conversation.
A track-focused rider may have event-specific requirements and may remove or alter road equipment for a closed-course session. That does not automatically make the same configuration suitable for public roads. Discuss the conversion process, retained original parts and organizer rules separately from the road setup.
| Rider/use | Likely first priority | Decision evidence |
|---|---|---|
| Daily and wet-weather | Visibility, protection and easy service | Day/night view, routing and spray exposure |
| Weekend visual build | Minimal integrated appearance | Supported unit, viewing angles and replacement path |
| Touring/luggage | Unobstructed function under load | Photos and clearance with actual luggage fitted |
| Track plus road | Repeatable conversion and rule separation | Organizer requirements and complete road-equipment plan |
Compare the installed total, not only the product price
The standard product can have a lower starting price while separate indicator choice or correction work affects the installed total. The integrated product includes a more complex lighting proposition, while final electrical fitment and installation still depend on the motorcycle. Ask for the complete chosen configuration rather than assuming the website price includes every vehicle-specific step.
Also compare what happens later. Replacement availability, the ability to source one indicator, the cost of replacing an integrated assembly, the time to return to stock and access for rear service can matter more over ownership than a small difference at purchase.
LS Customs product and installation options
LS Customs currently offers a Custom Tail Tidy starting at ₹1,999 and a Custom Tail Tidy with Integrated Indicators starting at ₹4,999. These are published product starting points, not an unconditional installed total. Exact model/year fitment, selected style, final price, stock or production, installation and shipping are confirmed on WhatsApp.
The available product pages list Aprilia RS457, Ducati Panigale V2, Ducati Panigale V4 and Yamaha R3 year ranges, with custom assessment for other sports and naked motorcycles. Use the product-specific model confirmation action, especially where the bike has existing rear-end modifications.